How were Copperfoxs made?
Did you know that over the years Copperfox used a total of 5 different factorys to produce the Copperfox models!?
The first Copperfox Models were actually squeaky, like a dog toy. You literally could squash (and squeak) them! The first factory they tried for production didn’t quite get what Copperfox were asking for so production was swiftly moved! The squishy models are still at Copperfox in the archives.
The Founding Fox models were created in Cellulose Acetate plastic, with the material being shipped over from the USA to China especially for these models. This was a learning curve as it was extremely expensive to move the plastic and on a long term scale wasn’t financially possible. Copperfox tested many different plastics after the Founding Fox run, exploring all the options and possibilities, looking into the properties of a multitude of plastics and also where they could obtain it for a reasonable price.
Five factory moves later, and Copperfox Models are now made from a mixture of plastics- Polycarbonate (PC) and ABS. The combinations of plastic enables them to create a model that is highly detailed but extremely strong. PC has an impact resistance 200 times greater than glass! Fun fact - Copperfox tested the strength of the models by a very complicated and hi-tech method of hurling one across a room, to land on the floor with a crash and then watching the model bounce around until coming to settle on the factory floor. The model and plastic was unscathed with all ears, legs and tail intact!
Making Copperfox models was a very long process. Below you will find a selection of photos detailing the steps needed to make a Copperfox model horse - the photos show just how much work went into the production of Copperfox models.
Making Model Horses is an art form.
Each Copperfox Model starts life as an idea and goes through several steps, processes and mediums to become the final piece.
Copperfox said: "When we have an idea of the breed or type of horse we want to join the Copperfox herd , the next step is to gather reference pictures and to sketch out possible shapes and poses for the new model. Things we have to consider at this stage is how the model will stand, four legs or three, and what other features it has to have. For example being tack friendly is important."
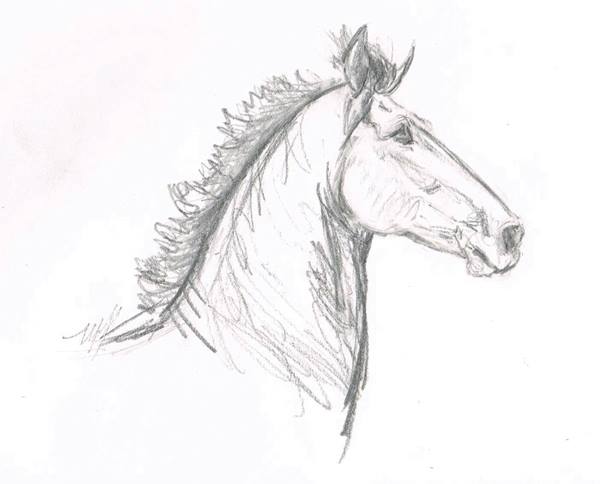
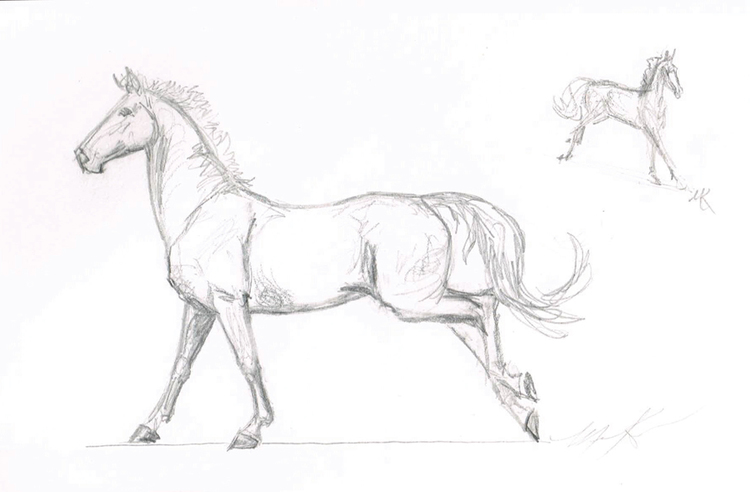
The original sketchs for the Copperfox Irish Sports Horse
After a pose is decided upon, they would commission an artist to sculpt the model which can take months to complete.
The artist starts making the model using a wire frame called an armature.
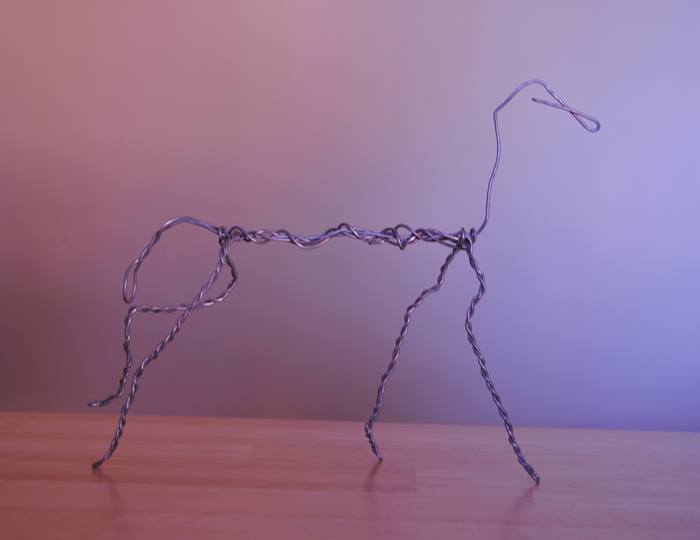
Once the artist is happy with the wire armature they then start to add clay to 'flesh out' the sculpture
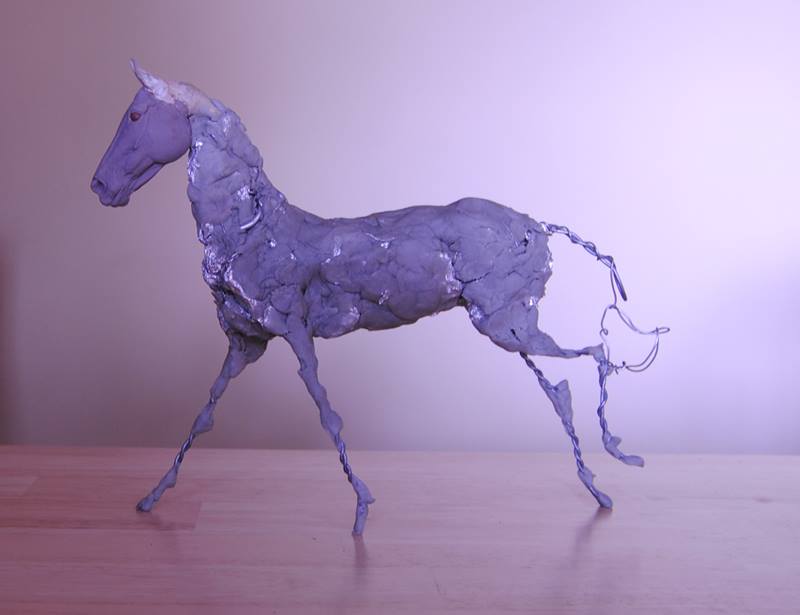
As more clay is added the model starts to take shape. It can take many months of work until the clay model is ready.
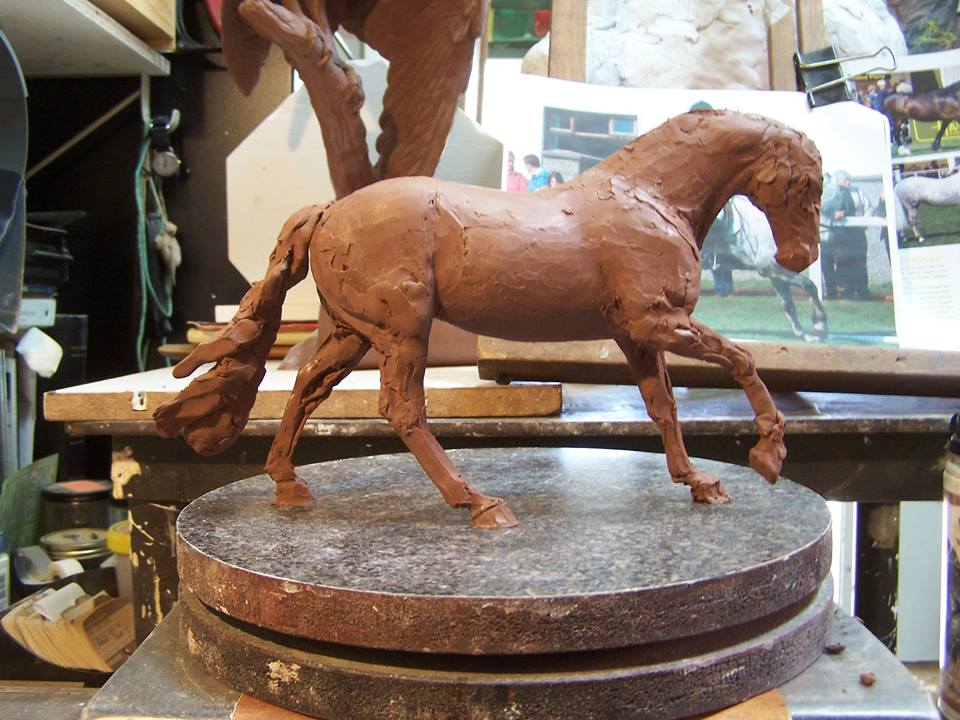
A 'in progress' picture of the Connemara
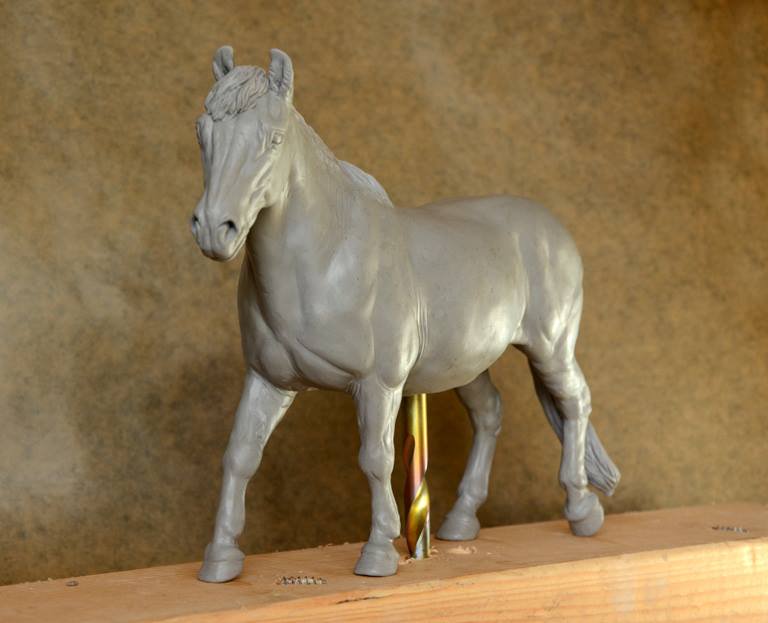
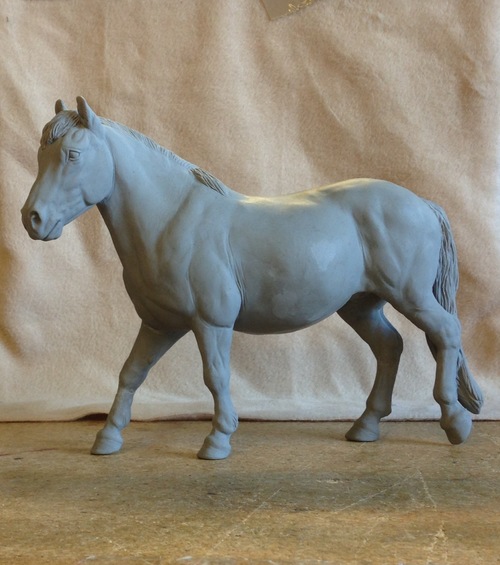
Original clay sculpture of the Exmoor pony (Dunkery Belle)
Once the clay model is finished and approved, it's off to be cast into resin so multiple copies can be produced. Having multiple resin copies means that they have a backup if a model has an accident before the the start of the long manufacturing process. At this point Copperfox would also use the resins to test out sample colours and in some cases offer resin versions of the mould for sale.
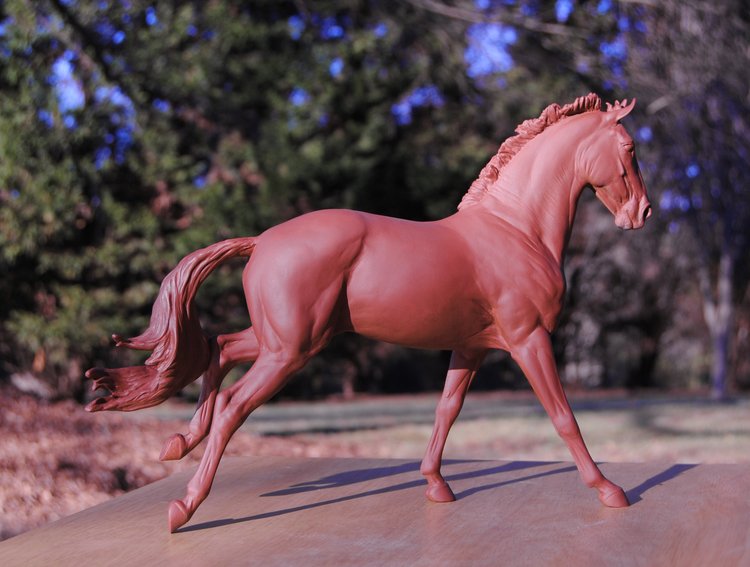
The Resin 'Master Copy' of the CF ISH made by the artist
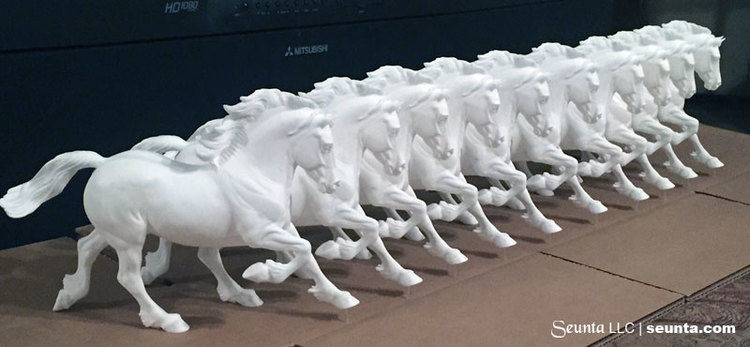
The herd of copperfox welsh cob resins cast by Seunta LLC
All of the Copperfox models are hollow and made of two halves that are joined together. These halves are created by injecting hot molton plastic into a steel Tool which moulds the liquid plastic into the shape of the horse. The metal tool is a mould that the liquid plastic is injected into the create (half) a horse. For each shape of horse, two tools are needed (one for each half of the horse).
A Copperfox Model have quite a weight to them; this is simply due to the fact Copperfox used more plastic in the models, giving them a weight that feels substantial in your hands.
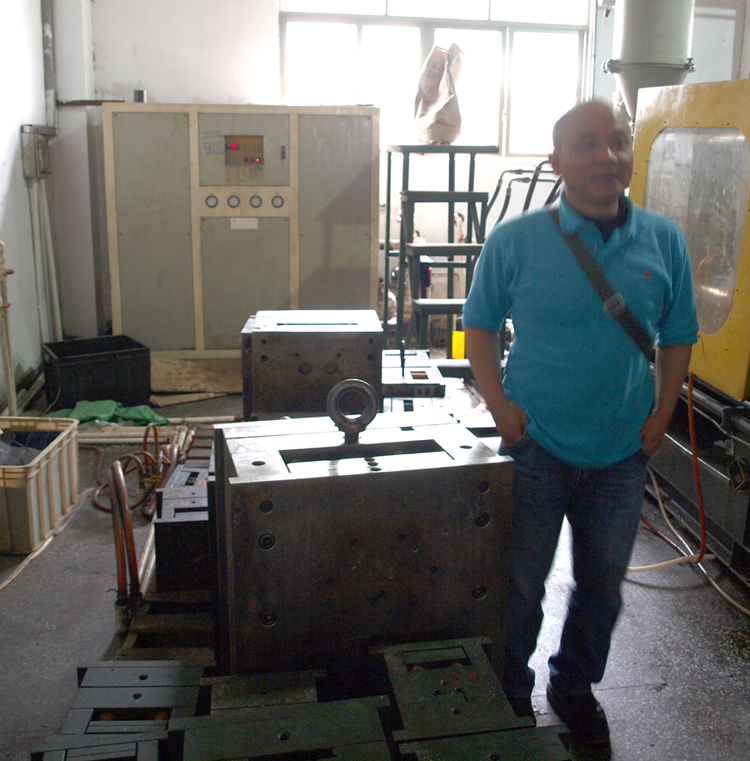
To create a plastic model, you require a metal mould or Tool as it's more commonly known. Tools are extremely heavy and expensive. They are made of metal as they need to be strong enough to withstand the pressure they are put under to create the models. The above picture shows all Copperfoxes tools and the tall one is the mould for the Irish Sports Horse model (or King horse as it was nicknamed at the factory). You can see the size of it compared to Tony, a close friend (to Copperfox) and contact in China.
The tool weighs a whopping 1.5 tons, so no quickly picking it up and slinging it over your shoulder!!
How do you make a Metal Tool?
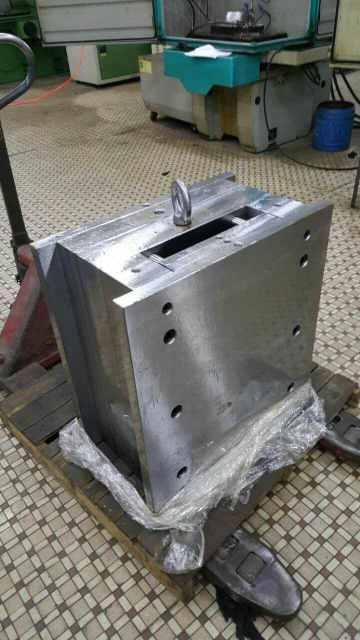
The Coperfox ISH Tool
To create the Steel Tool, you first need 3D scans of the original resin model. The model is scanned to capture each angle, detail, bump and line digitally. These details are fed into a computer and the tool is then created by machine.
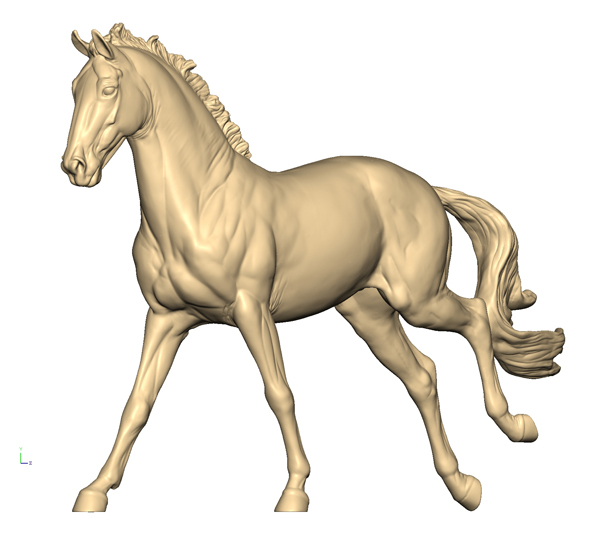
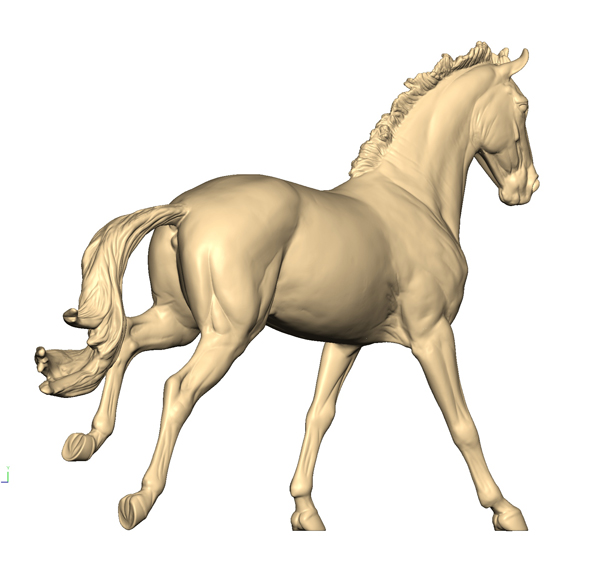
The above pictures are two of the 3D scans of the resin used to create the Steel Tool for the ISH
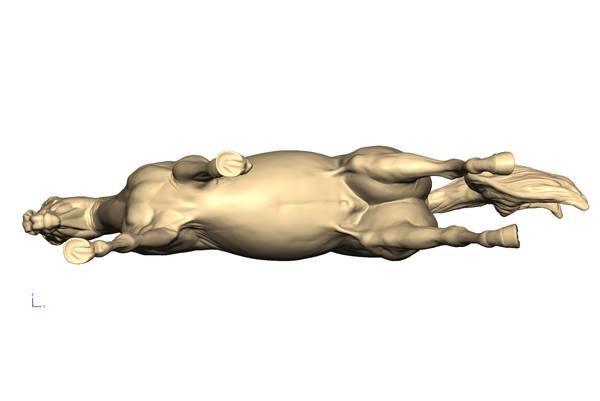
Every angle of the model is 3D scanned .... left, right, top and bottom!
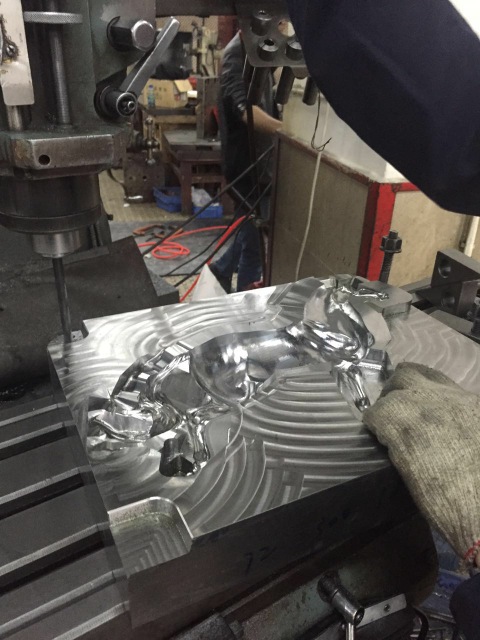
This is how the metal Tool (mould) is created. A machine cuts out the shape of the model from a block of metal using the 3D scans which are programed into the machines computer. Notice all the metal shavings around the mould. This is were a small amount has been cut away from the metal, ensuring that all the details of the original clay model are in the mould.
The liquid in the middle of the mould is to prevent the machine from overheating when cutting, in addition to acting as a lubricant.
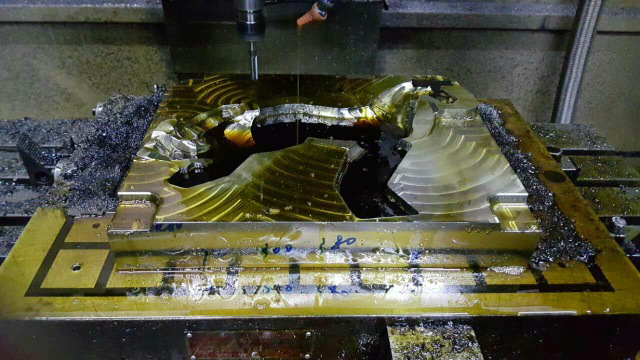
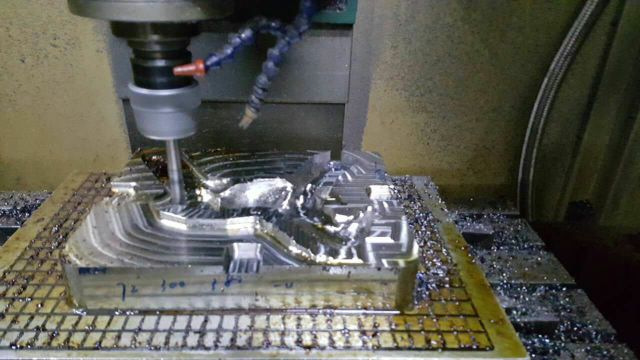
Drilling & machining the details of the metal tool
Once you have a Steel Tool, you need another machine to inject the plastic into the tool (or mould). It's a bit like creating a plaster of paris model as a child, although on a slightly bigger scale. Hot molten plastic is injected into the tool by a injection moulding machine under pressure.
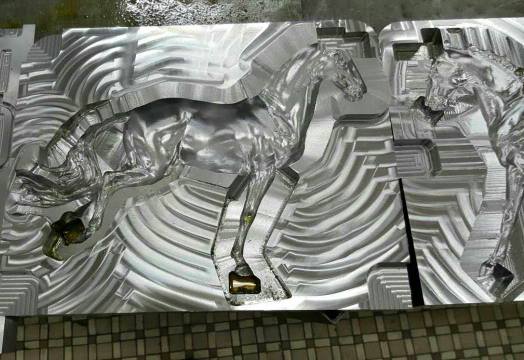
Half of the ISH Tool mould
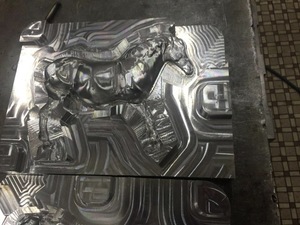
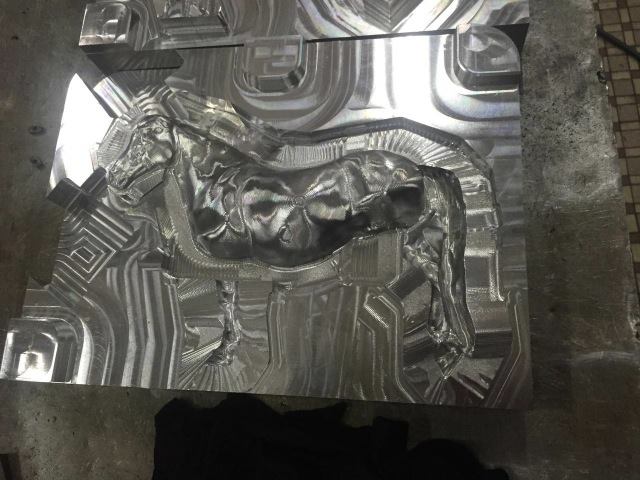
Both halves of the Exmoor Tool
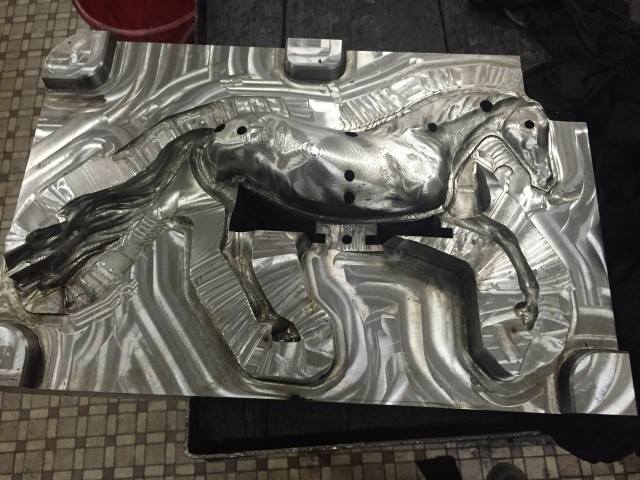
Half of the Connemara Tool
Copperfox models are created from a mixture of plastics, PolyCarbonate and ABS, which creates a model that has an amazing amount of detail and features, whilst being durable, substantial and possessing a delicate finish and feel when you hold it.
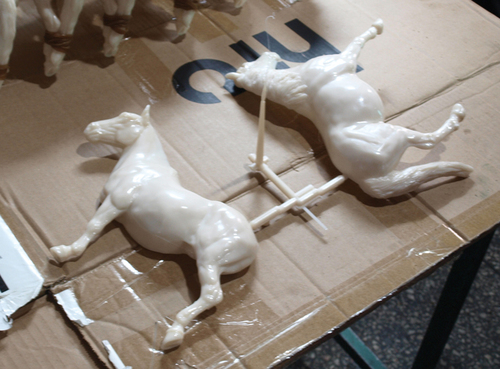
Here you can see both halves of the Exmoor model fresh out of the mould before being banded together
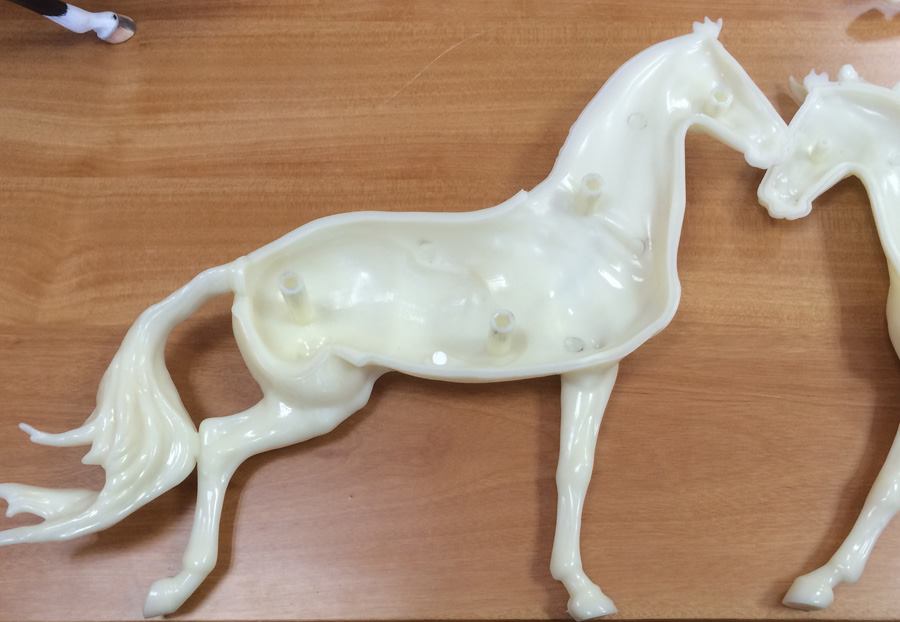
This is what the inside of half and ISH looks like
Once the model comes out of the machine, it's still very hot. A bit like how candle wax is still hot until it sets and cools. Whilst the models are still warm, they are trimmed and roughly assembled, being held together with elastic bands while they cool down. Elastic bands seem a bit primitive, but sometimes the easy options are the best ones!!
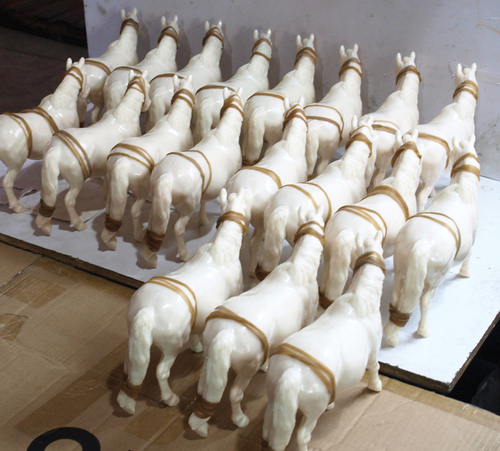
Banded together and cooling
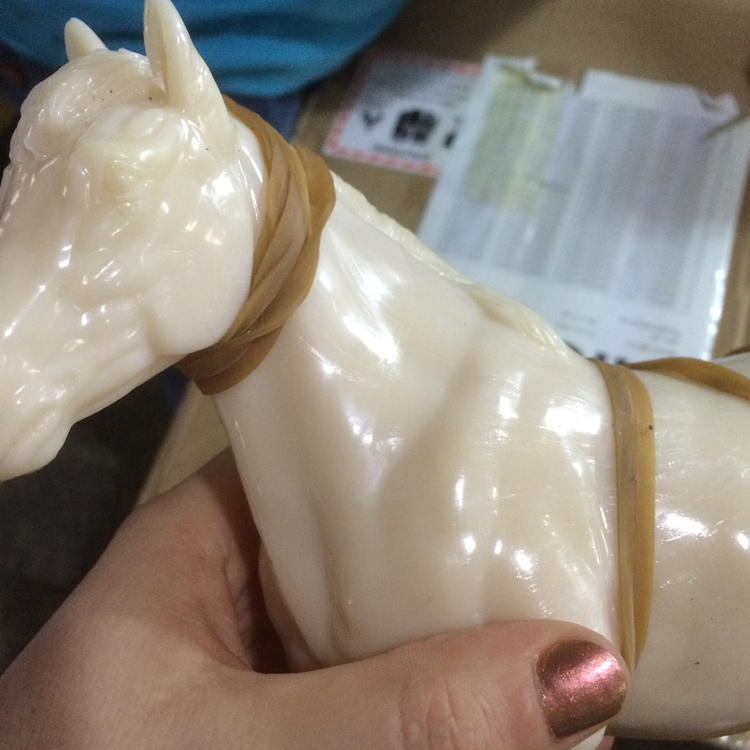
The below image is quite interesting - This model was literally minutes old and you can see the patterns the plastic made on the models surface, the swirls and whirls. These effects will be sanded off during the polishing process or covered in paint when they get their clothes on, but it's fun to see where a model starts and where it finishes.
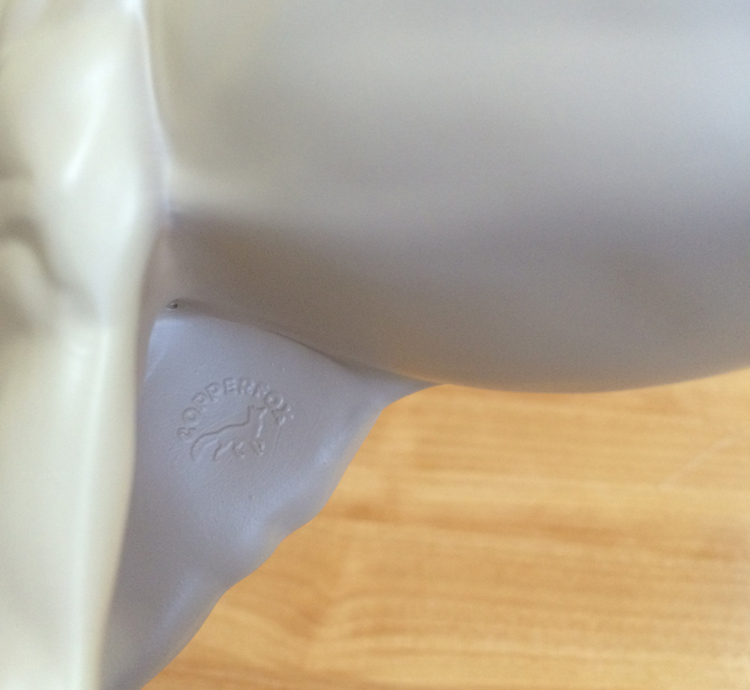
Every Copperfox model has the Copperfox Logo permanently moulded into it.
Once the models are moulded and cooled, they are checked for any deformities like standing wonky or curling plastic edges. Even with their rubber bands on, the edges of the models can still move and so there is room for things to juggle and wander around at this stage. There is no guarantee that every horse that is moulded is perfect too, so even at this stage there is lots of things that can go wrong.
Once models are moulded, cooled and elastic banded the next step is to bond or "stick" the two halves of a model together, to create one complete blank horse. Glue, plastic and another adhesives can be used, but Copperfox used a technique known as "Ultrasonic welding" which welds the two halves of the horse together without the use of any bonding glues or other materials.
Ultrasonic welding uses sound to weld two pieces of plastic together to create a solid bond. The high-frequency of the sound makes the plastic molecules vibrate, generating heat. This heat melts the edges of the plastic enough for them to bond together, resulting in a join that is extremely strong once cooled.
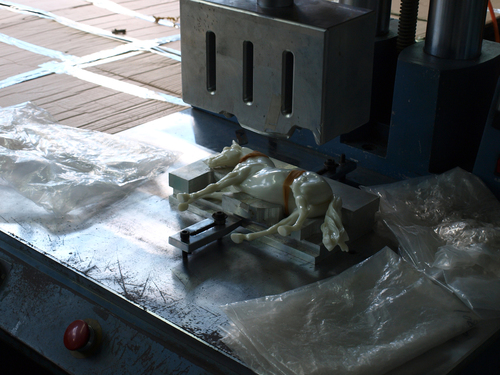
A Connemara Pony during the Ultrasonic welding process
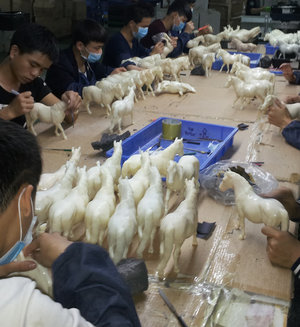
This is where the magic really starts to happen! From this point onwards, everything is completed by hand, including the polishing process. Polishing is the stage where any excess plastic created by the moulding process, like seam lines and excess plastic, are polished away and off the model. This process is done delicately by hand, using tiny sanding tools and files.
The models start to get their own character and personalities at this stage too. As each one is polished by hand, it means that they can be slightly different, depending on who polishes them and what is being polished. Hand polishing means we can get into all the nooks and crannies that a mechanical polisher could not reach and also by feeling the plastic you can sometimes feel it before you see it.
Below are some images from the polishing stage.
The big grey blocks on the table are for sharpening the sanding tools and files, and the squares are tiny pieces of sandpaper.
When they said hand polished, we truly mean by hand.
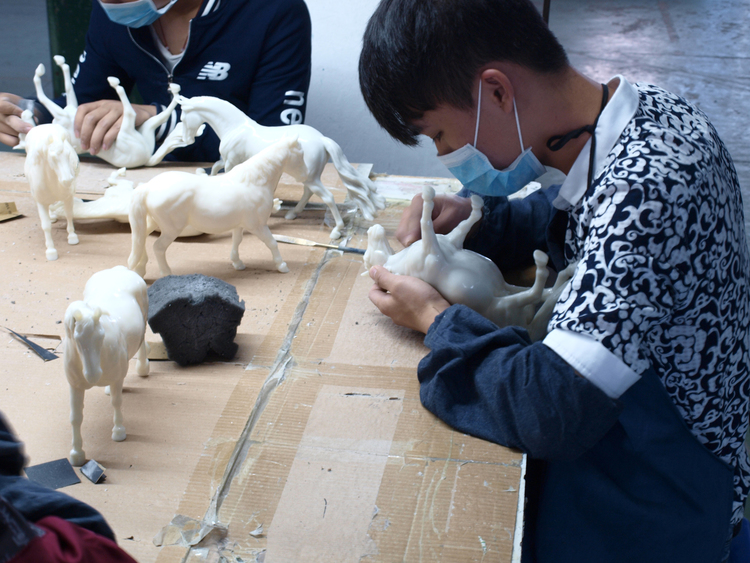
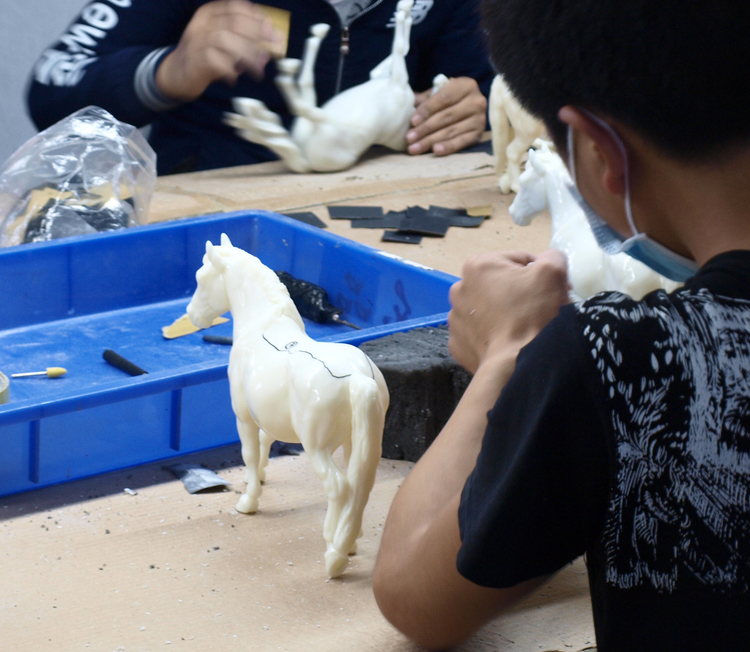
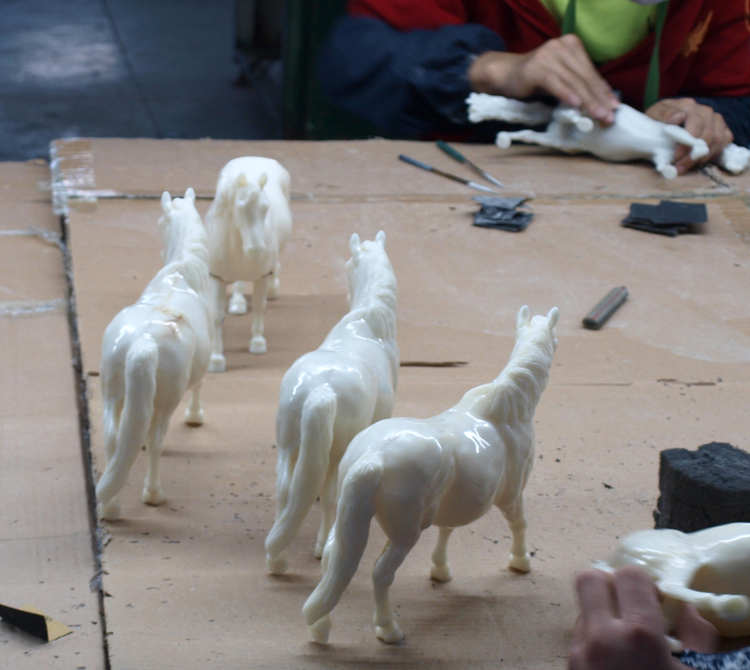
Removal of seams on an exmoor pony
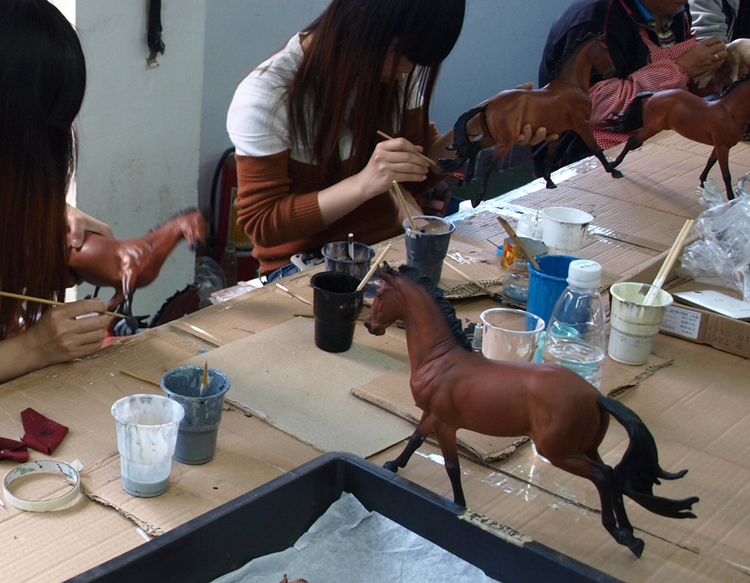
After assembling a model and polishing it, the next step is painting. Painting is a very big stage in itself and is broken down in to smaller steps- base coating, layering, detailing and varnishing. Painting is so much more than just a quick stroke of colour and off you go. It's an art form!
There were other smaller steps in-between too. These include Quality Control checks as well as polishing and re-coating.
Base Coating is a very important step in painting. A base coat provides a smooth layer and a foundation for other paint layers to adhere to. All Copperfox models are completely based coated, even the white bits, so everything gets a spray of paint.
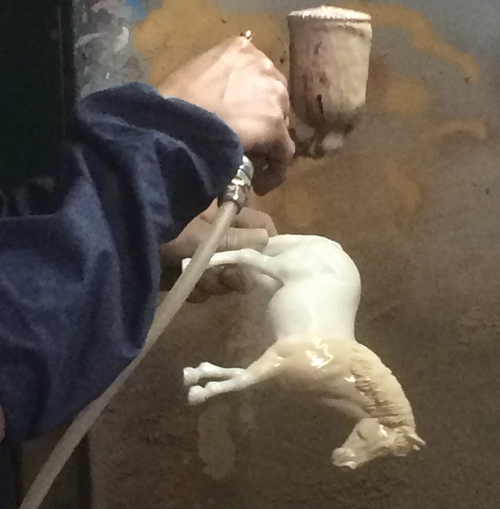
Base coating an Exmoor
Basecoated and waiting for the next coat of paint
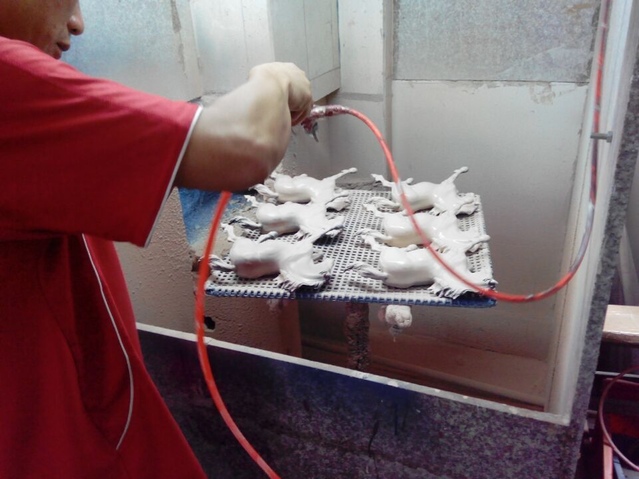
Basecoating Welsh Cobs
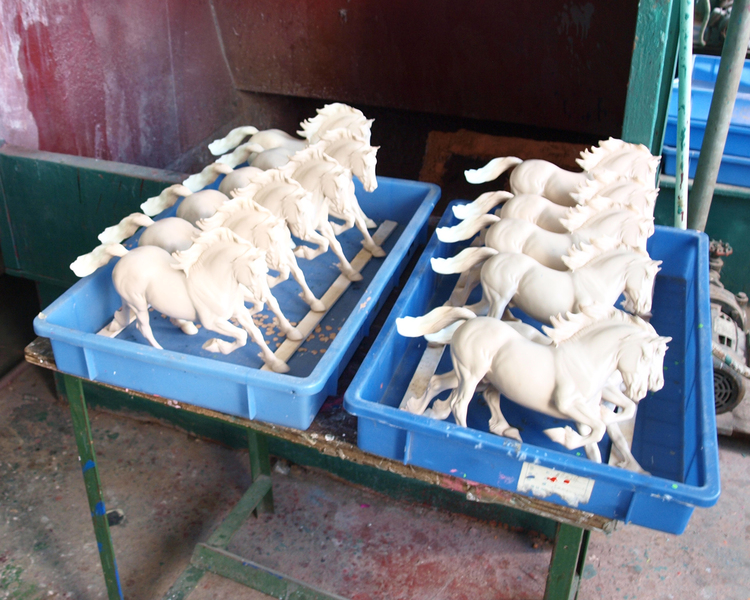
Base coated and drying
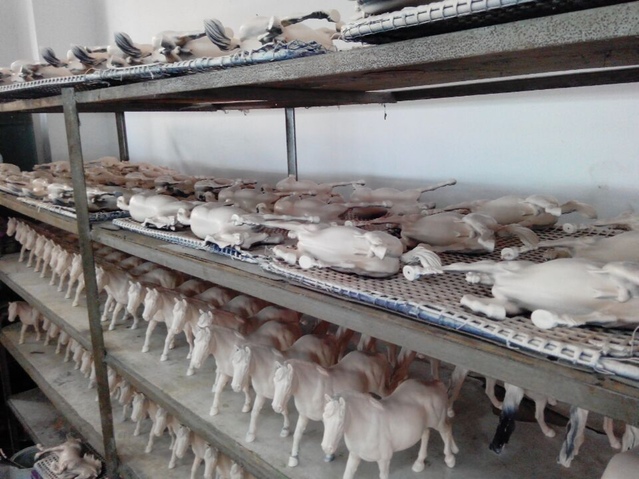
Once models have dried, they are checked for any large lumps or bumps that may require additional polishing or any other major defect, that results in the model being discarded completely (and recycled). Creating a model horse is a little like snakes and ladders, moving up and down. If a model passes it's checks it moves onto the next stage. If it doesn't, it's down the snake and back to the previous step!
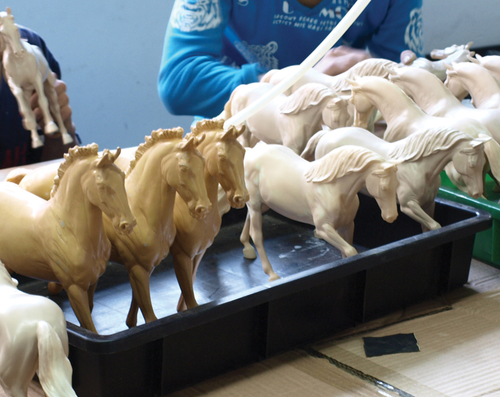
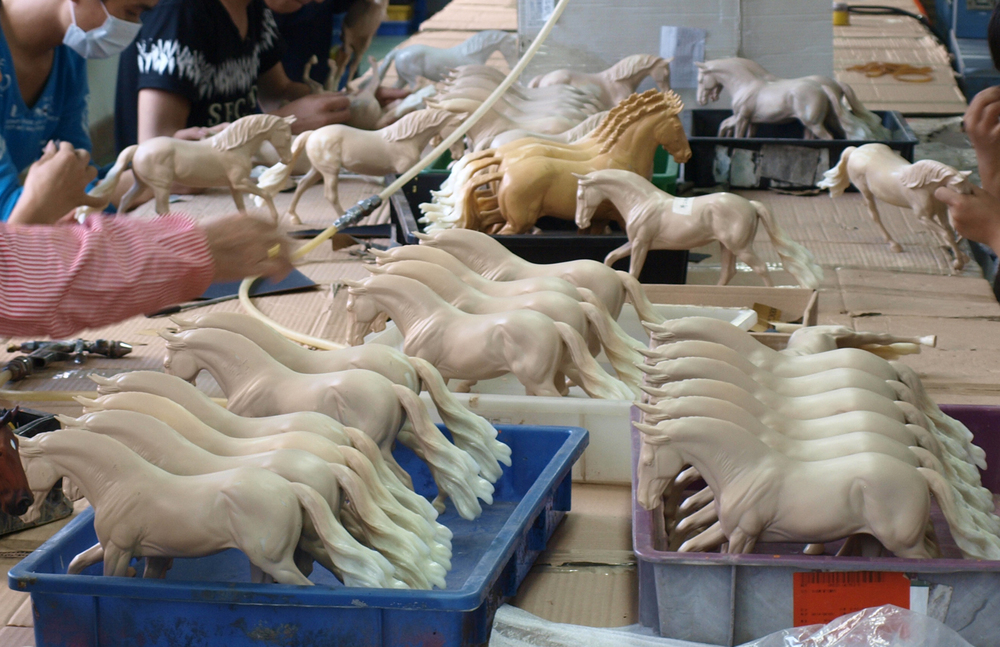
Basecoated and checked and waiting for colour
At this point, a Copperfox model has come quite a way from where it first began. It's been heated, moulded, cooled, assembled, welded, polished, sanded and base coated. Quite a few processes just to get to the point in which a model starts to look like a model horse!
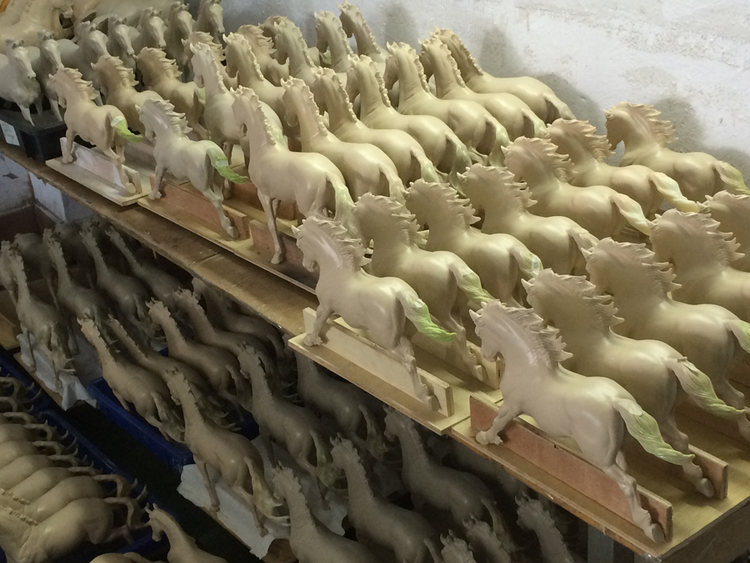
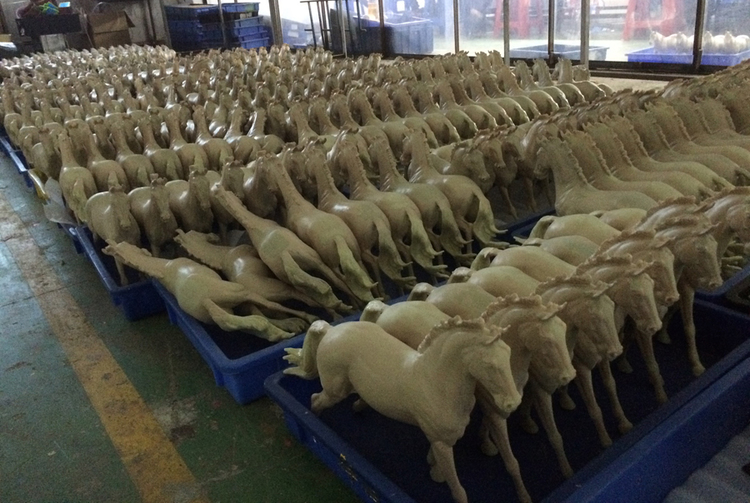
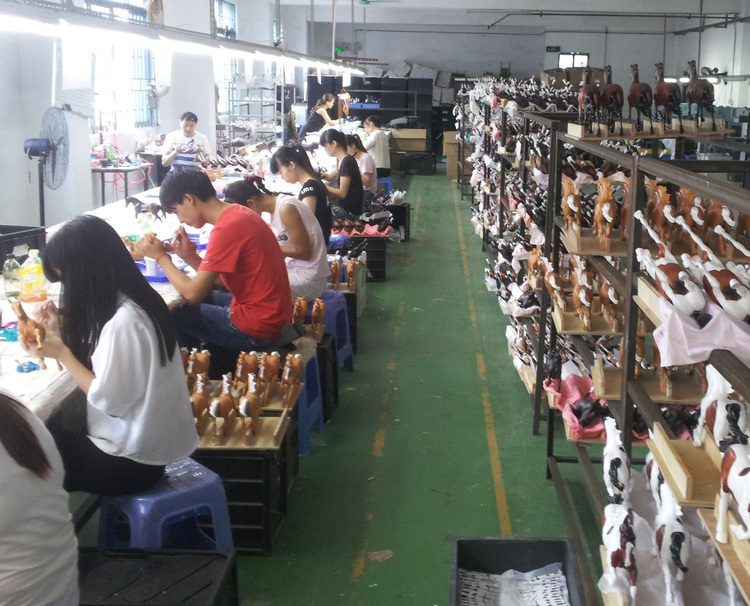
Rows and rows of Copperfoxs waiting to be painted
Each model receives between 7-8 layers of paint, depending on its colour and tone, building up shading and depth to the horses final coat colour. It is a very long process, as each time a layer of paint is applied, the model needs to be completely dry before the next layer is added. Paint layers are applied by hand using an airbrush to spray the colour onto each model and as the paint builds, the models start to come to alive!

For coloured models, like Henrietta and Bertie, a copper template is used to create their patterns rather than using a mask that sticks to the model. This template is held over the model whilst the paint layer is applied and once dried, it is removed.
Once models have received all their paint layers and their coat colour is complete, it is off to detailing.
Details like face and leg markings, chestnuts, eyes and hooves are done completely freehand. In some cases, manes are hand painted too, like on the Henrietta and Bertie models, which are two tone in colour.
Below is are pictures of Superman and Sovereign getting their details. Sovereign is having his mane painted a snowy white. He would also get his face and leg markings, hooves painted and varnished, chestnuts added, nose pinked (and greyed) and eyes glossed. Superman is getting his hooves added and once this is complete, he will have his chestnuts and star added, as well as getting his eyes and hooves glossed.
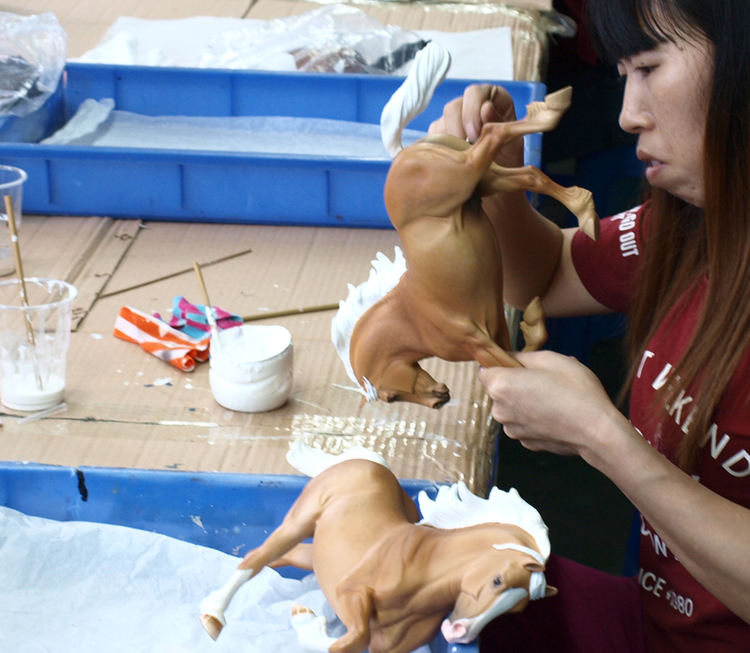
Once models have completed their detailing stage, they are left to cure for at least 24 hours to ensure all the paint is dry. After they have dried, models receive a light coat of matte varnish to seal everything in and to give a protective layer. They are then left to rest and dry for another day or so (the drying time depends on the weather), before being checked, approved and packed into their Union Jack boxes for the journey to Copperfox HQ.
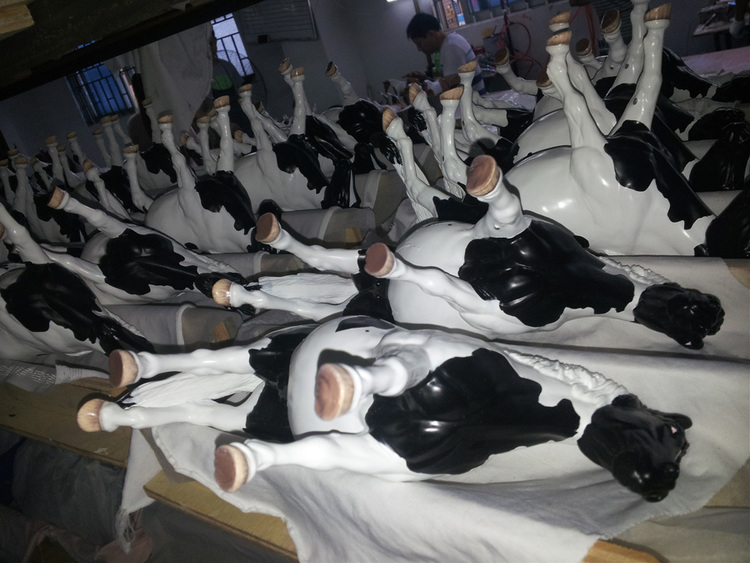
Henriettas drying after having her hooves painted
Creating a Copperfox Model Horse is quite a long process, there were 5 different parts - Moulding (Part 1) Creating a Blank Model (Part 2) and Welding (Part 3) Base Coating (Part 4) and Painting (Part 5). It's a process that not only creates wonderful models, it creates models that are as unique and as individual as the people that create them.
Words and Photos by Becky
Lots of more photos from the factories can be found below
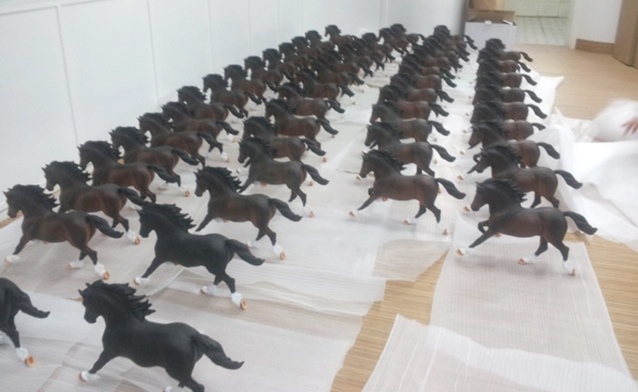
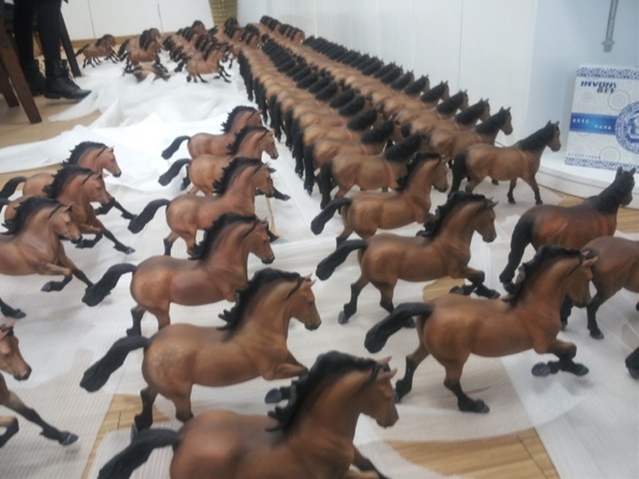
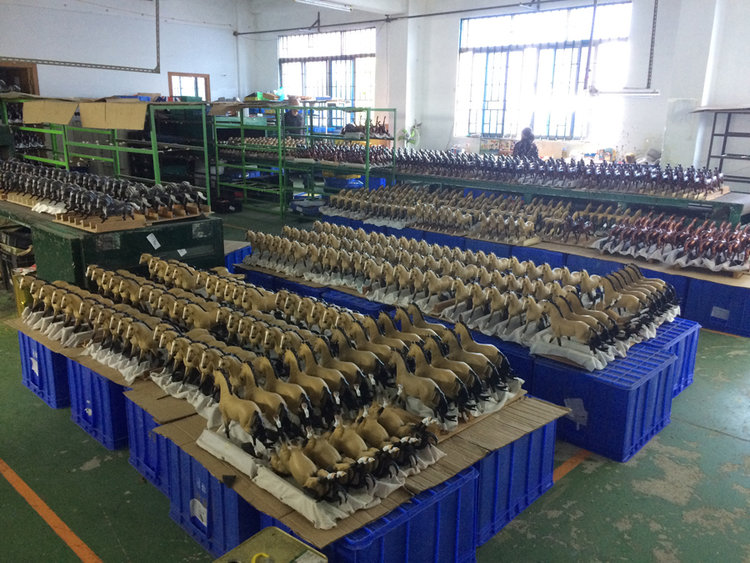
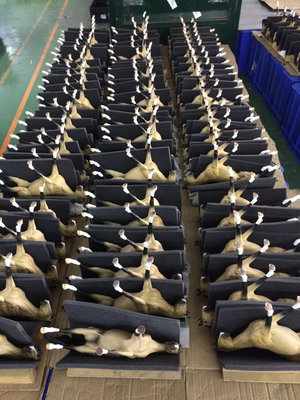
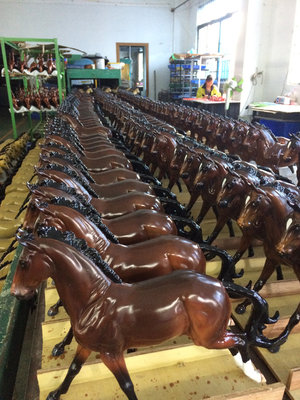
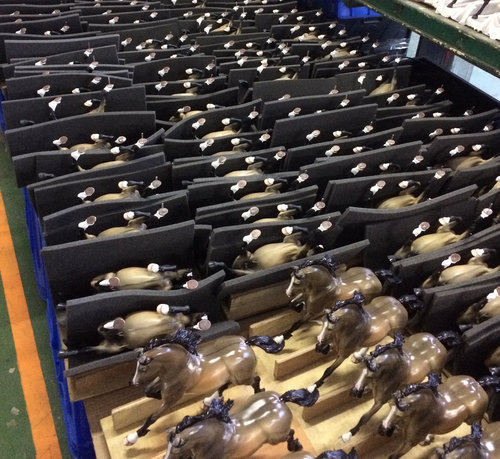
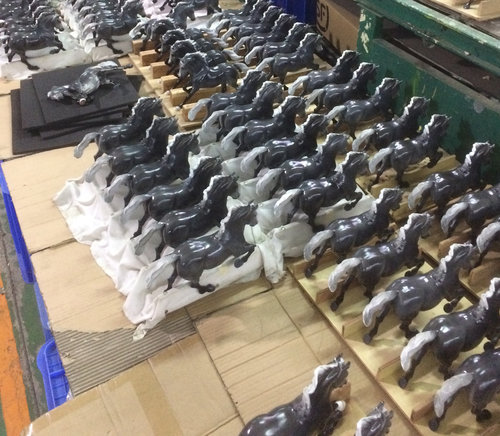
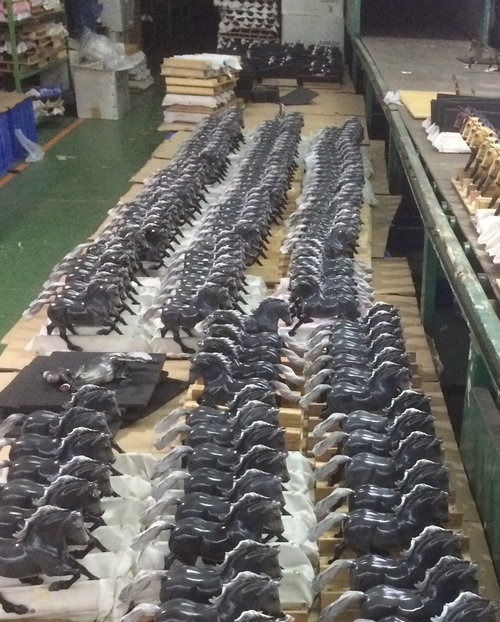
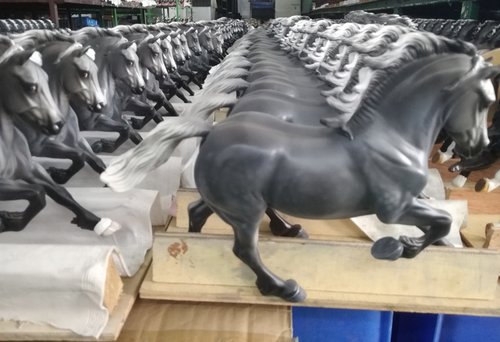
After they are painted they are check and boxed up, then sent to the UK.
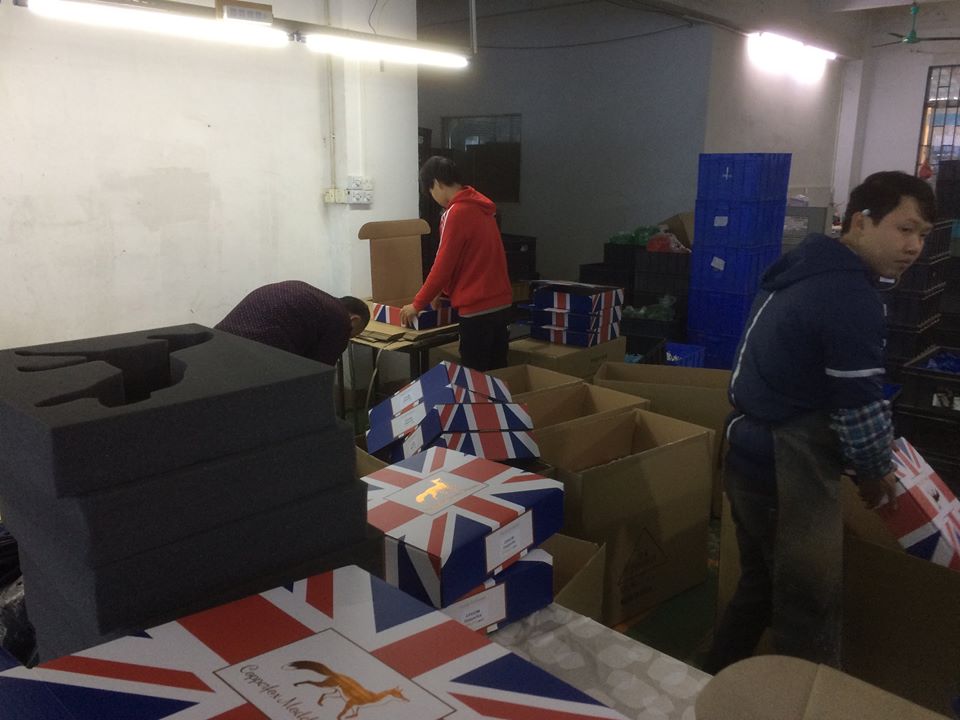
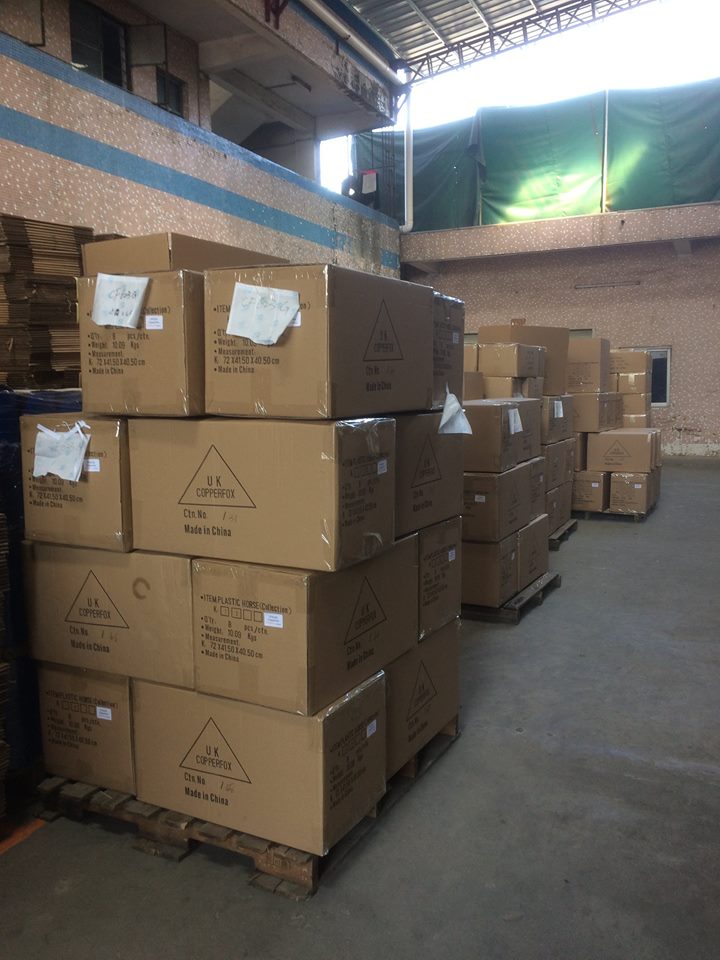
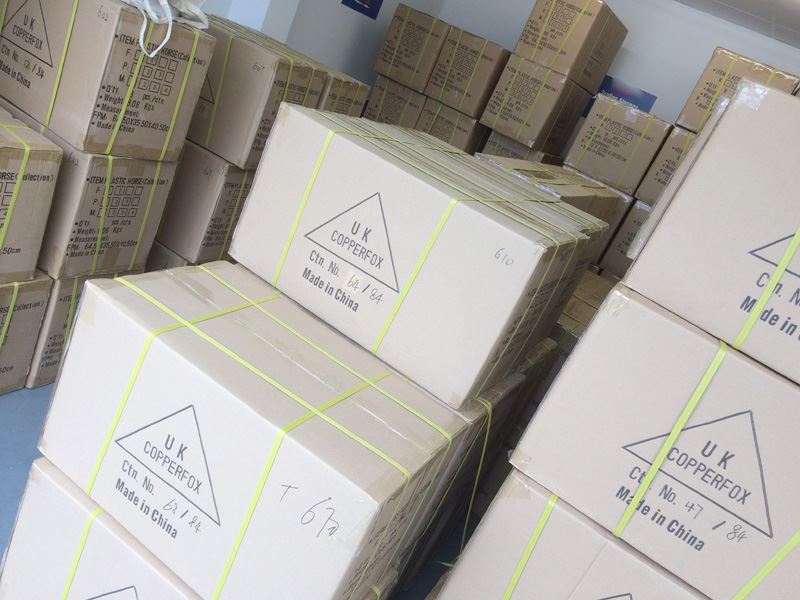
At the factory - ready to go into the containers before being loaded onto the container ship.
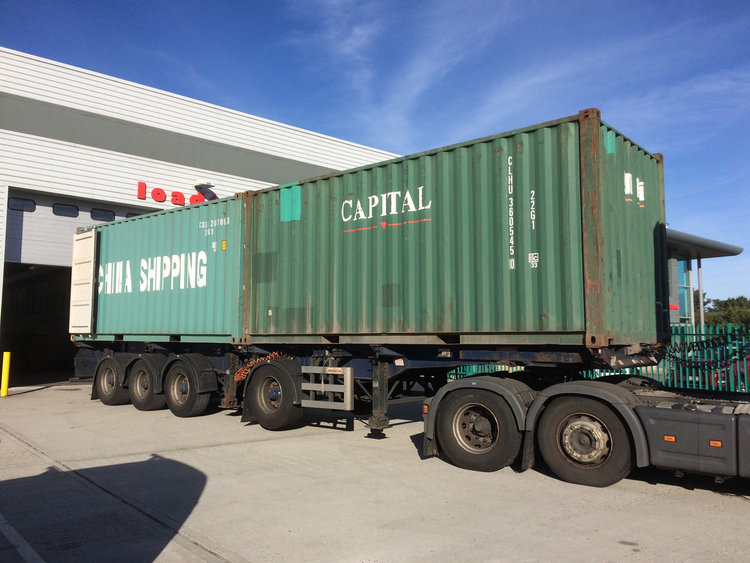
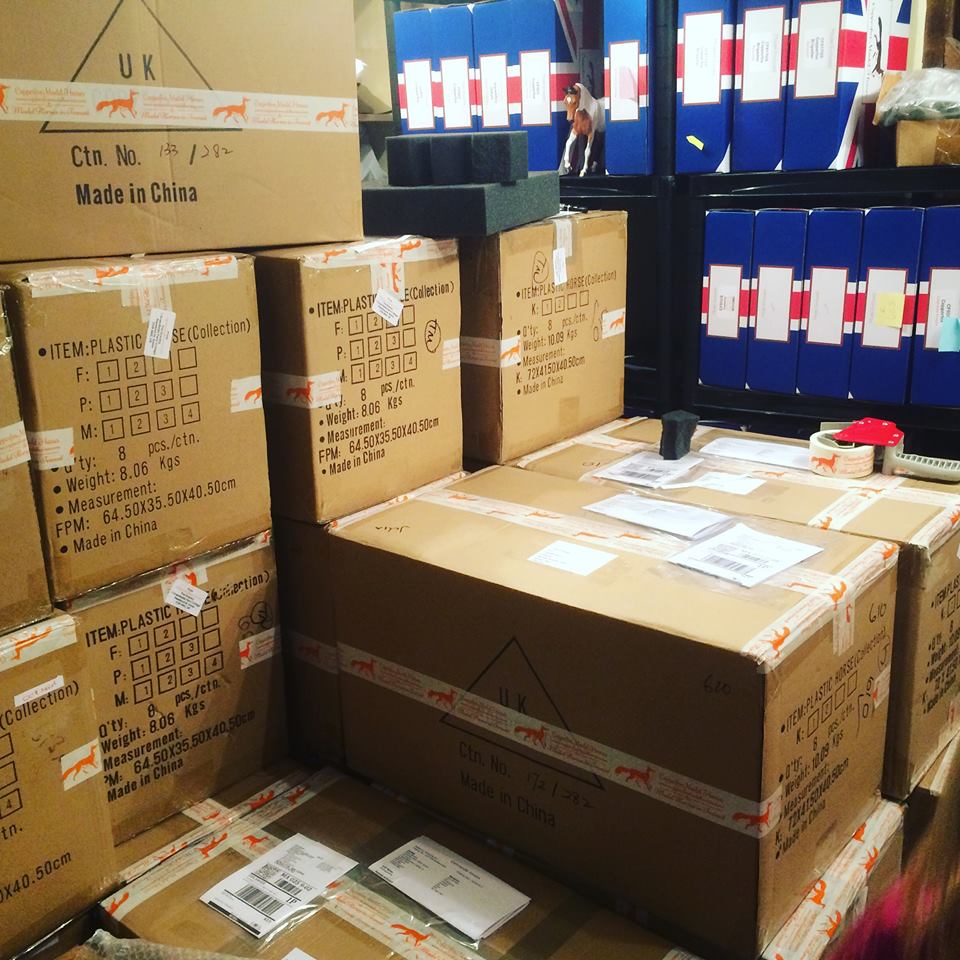
A New delivery arrives at Copperfox HQ fresh off the boat from the factory in China
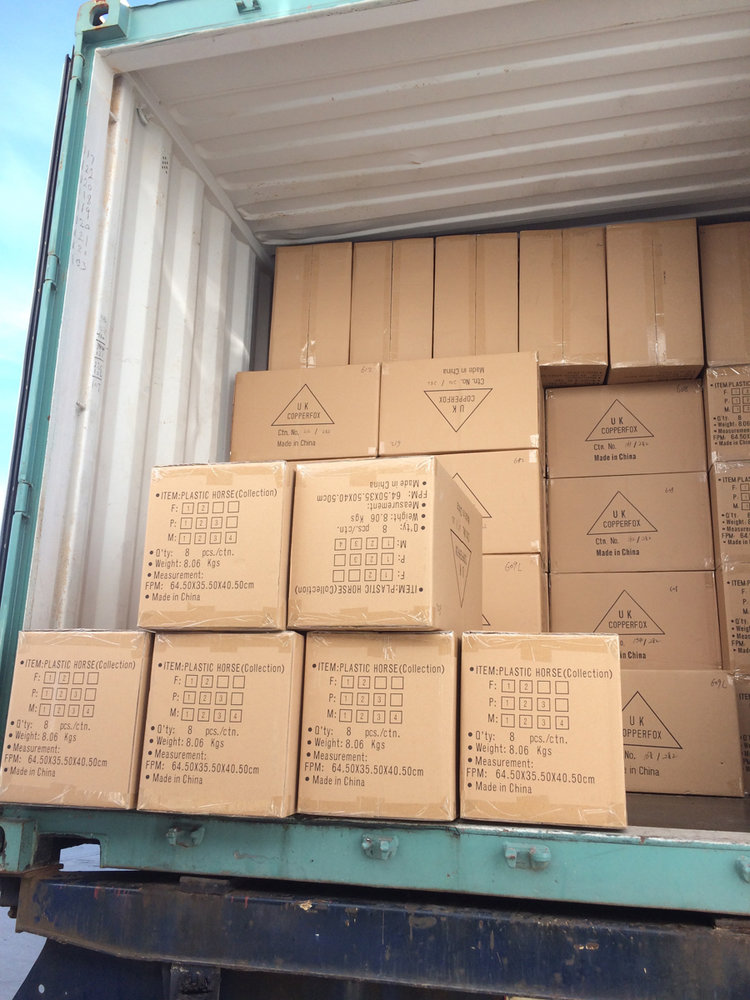
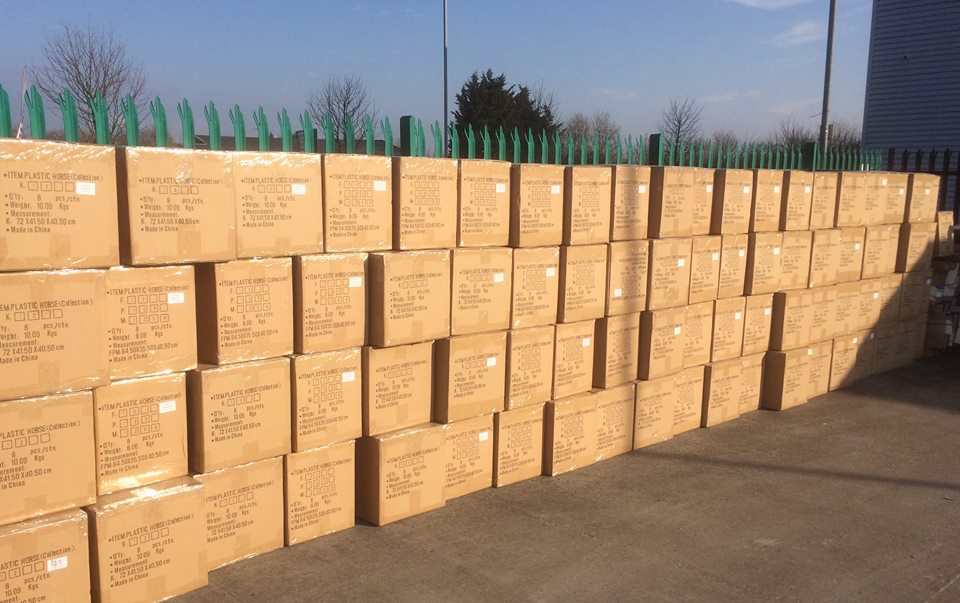
So many boxes ...!!!
Becky noted that:
"It takes us approximately 2 hours to unpack a 20ft container, which contains 280 Copperfox cartons that weigh in total just over 2 tons. 2 tons of plastic ponies; who would have thought it!! After models are unpacked and settled in our warehouse, the next step in our process is to check and visually inspect every single model. It's a process that involves lots of hiding in a maze of boxes, accompanied by a mug of lukewarm coffee (essential), biscuits (very important; chocolate digestives are preferred) and a radio (imperative).
Models are checked to ensure they have traveled safely after their long adventure on the water and also to ensure that the right model is in the right box, with everything being present and correct- like pegs for the Welsh Cobs for example, they sometimes play hide and seek in the foam during transit.
As a weird and wonderful fact (i was pondering the answer to the question so I timed myself today) it takes me 5 hours to check 200 models, averaging 1.5 minutes per model. It doesn't sound alot but this is just the first check of many. We do another 2 checks before a model trots out the door to a new home- one to insert the models COA and another at despatch. To check all models from a 20ft container, it would take us roughly 8 days."
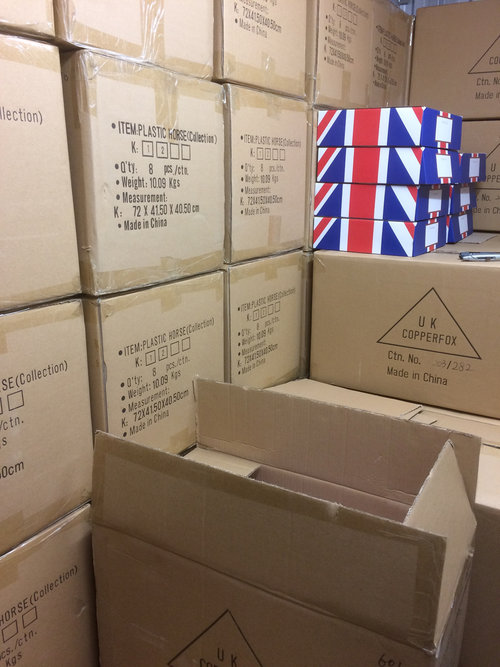
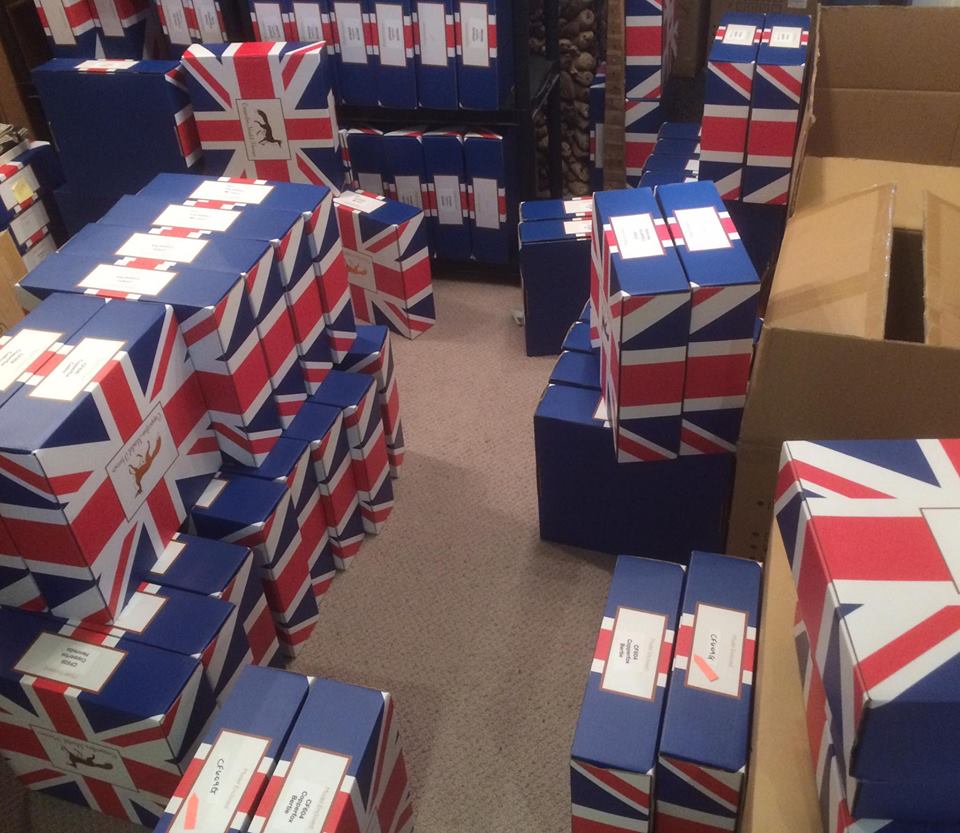
Checking and sorting out the orders
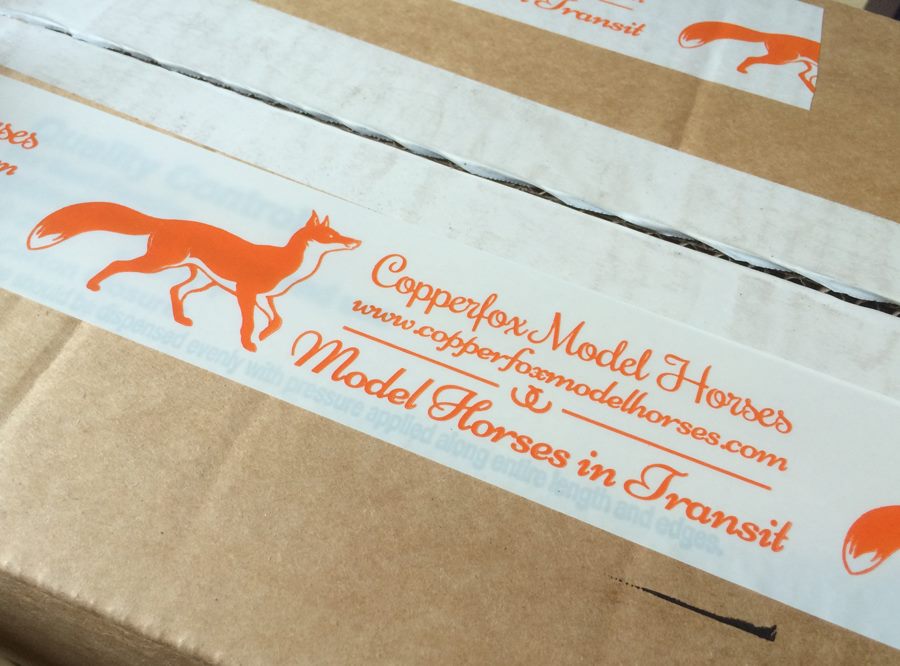
The legendary packing tape.